From a folder of photographs to a printed zine
Choose a format, arrange your photographs and download a print-ready PDF for any printer. Designing and printing at home are free. You only pay when your zine goes to a printer.
Before you add photos
A few minutes now saves a lot of fixing later.
Finish editing first
Exposure, crops and black and white are done before the studio. It lays photographs out; it doesn’t edit them.
Bring a rough edit, not everything
Choose the pictures you think belong. You can still cut later.
Use JPEGs
Save at high quality. Phone HEIC files and RAW files won’t open in every browser.
Make them big enough to print
For a full A5 page, about 1,800 × 2,550 pixels. For a full A4 page, about 2,550 × 3,600. The studio warns you if a photograph is too small for its frame.
Keep your originals
The studio uses copies, but your folder is still the master.
Five steps, no design software needed
-
1Set up
Choose a format
Start by giving your zine a name and choosing its size and number of pages. A drawing of the open spread shows the pages with their margins, so you can see the shape of the book before you add a single photograph.
- Four sizes: A5 or A4, portrait or landscape.
- 16 to 40 pages in steps of four, stapled. The 3 mm bleed printers need is added for you.
- Want exact margins or a coloured paper? Turn on Precise and set them in millimetres.
Tip Your zine saves itself in your browser as you work. To keep a backup, or to carry on on another computer, save it as a file and open it there.
-
2Sequence
Add and sequence
Add a folder of photographs, or drop them straight onto the table. Each one lands as a small print you can move freely, like prints spread out on a real table. Arrange them in rows and the table reads like a page, left to right and top to bottom. Every print shows its number, so you can see the order rather than guess it. No room to print right now? Sequence here first, then print the free proof and check the order in your hands.
- Set aside the ones you’re unsure about. They stay on the table, dimmed and out of the sequence, until you bring them back.
- Line up puts every print back into neat rows, keeping your order.
- Zoom out to see the whole edit at once, or go full screen.
- When the order feels right, Place on pages puts the first photograph on the front cover and the rest on the pages, one to a page, in order.
Tip Small files are flagged as you add them, so you know early if a photograph might print soft.
-
3Layout
Choose your layouts
Now work spread by spread. Your pages sit in a column on the left and the open spread in the middle. Choose a layout for the left page, the right page or the whole spread, and your photographs move into it. Every layout sits on the same grid, with margins set for print, so the pages belong together.
- Filter layouts by the shape of your photograph: full page, landscape, portrait or square.
- Drag a photograph inside its frame to choose the crop, and zoom in if you need to.
- Drag spreads in the pages column to change their order.
- Add a title and your name to the cover, words to any page, and page numbers, in more than 30 typefaces.
Tip Every change can be undone, so try things.
-
4Preview
Flip through and proof
Before you print, see your zine as a reader will. The preview shows it as a book: turn the pages with a click or the arrow keys, play it through at reading pace, or jump to any spread. It’s the best way to feel the pace of your sequence, where it pauses and where it surprises.
- Full screen hides everything but the book.
- Spotted something? Close the preview and you’re back on that spread.
- Then print a free proof at home on A4, so you can fold it, staple it and hold it.
Tip A printed proof shows what a screen can’t: how a photograph sits against the fold, and whether the words are big enough to read. Making a printed dummy
-
5Export
Pay once and print
When you’re happy, the studio checks your zine before the file is made. It lists anything worth a second look: an empty frame, a photograph too small for its size, or words too close to the edge where the printer trims. Fix them, or go ahead if you meant it that way.
- Pay once for the print-ready PDF, whatever the size or page count.
- The PDF has 3 mm bleed, and crop marks if your printer asks for them.
- Send it to any printer: online, local, or one you already use.
- Need it again? Export it again at no extra cost.
- Spotted something in a printed copy? Fix it and export again for 30 days after paying.
Tip Not sure what your printer needs? The printing guide explains what to check before you send it. Read the printing guide
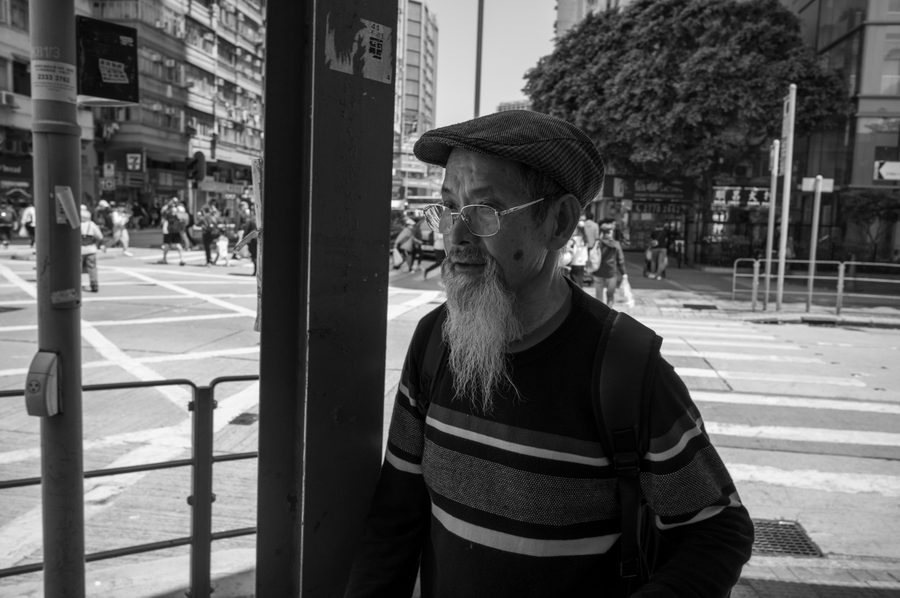
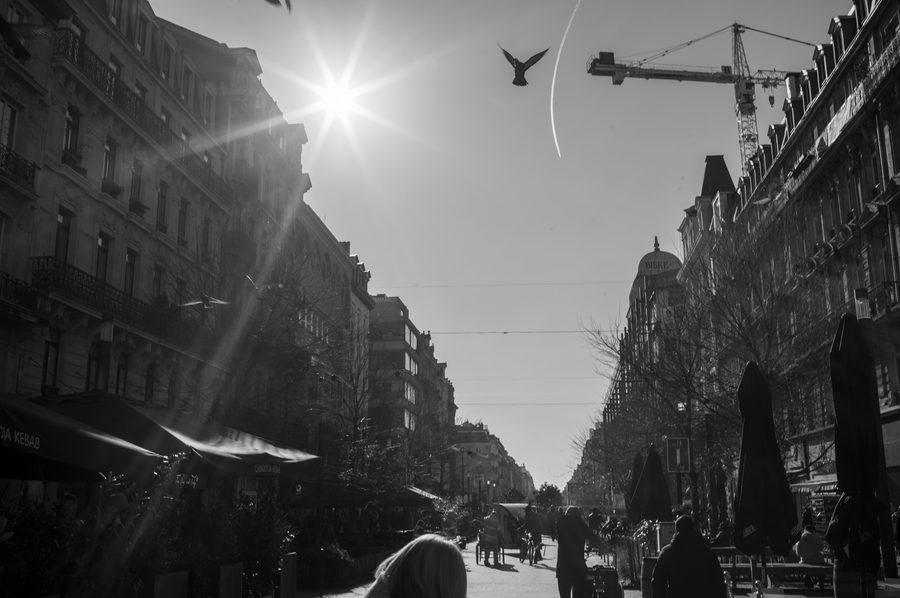
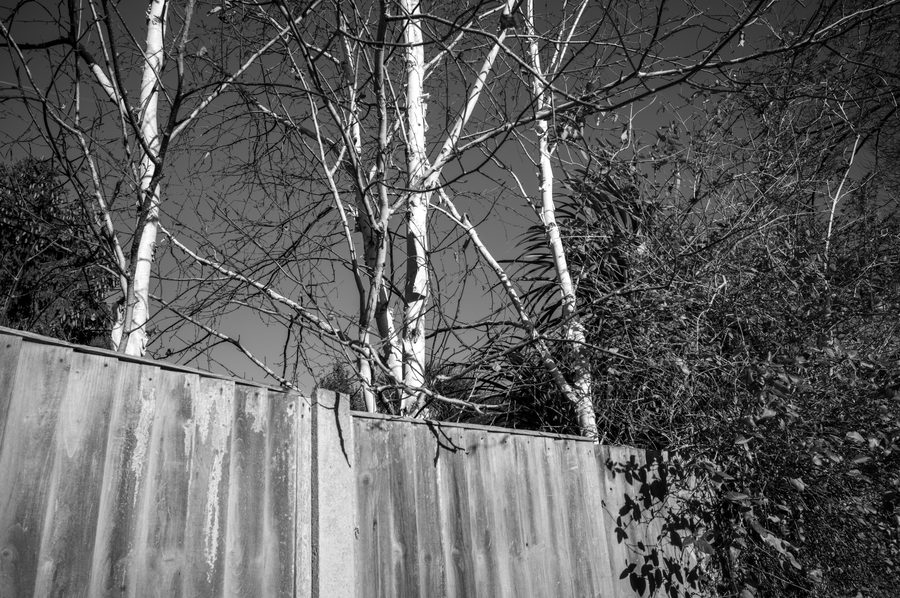
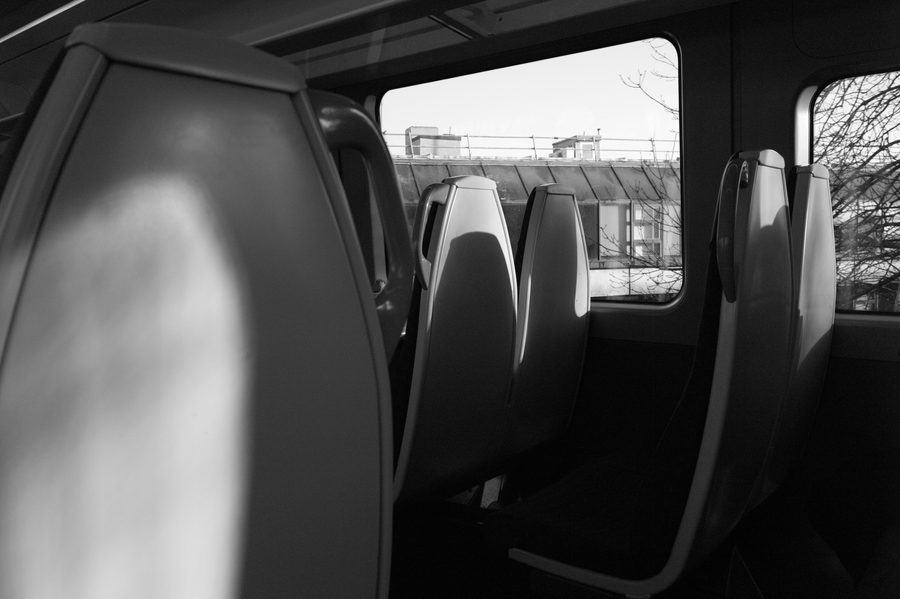
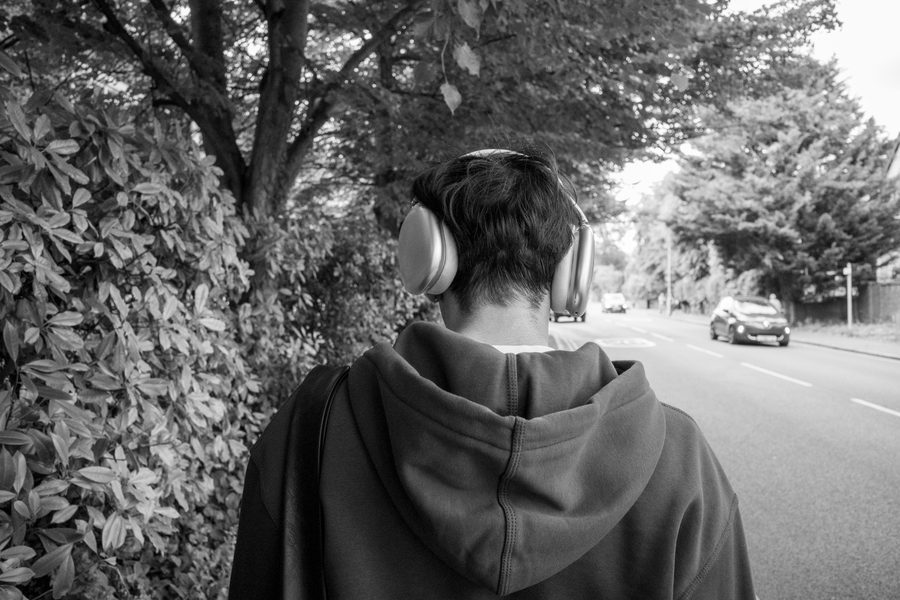
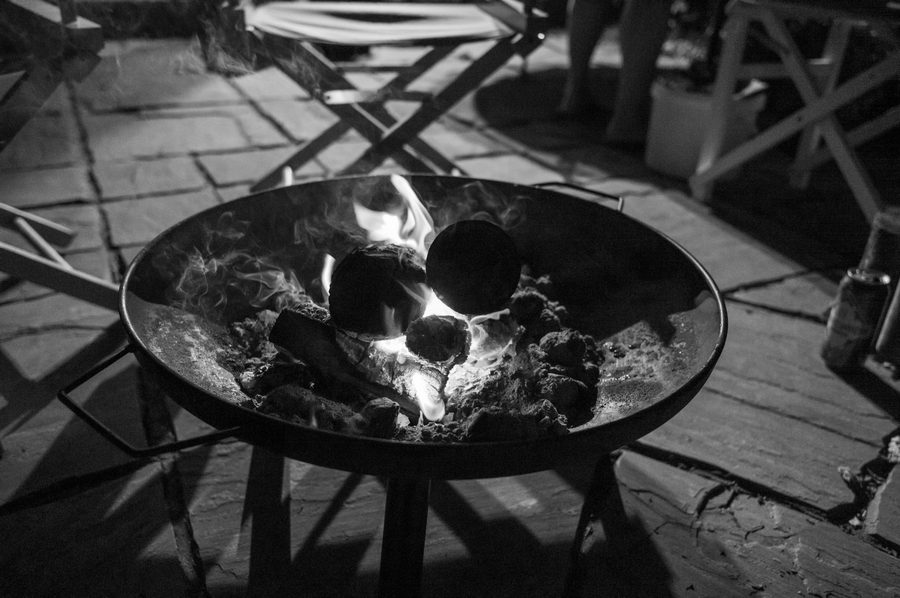
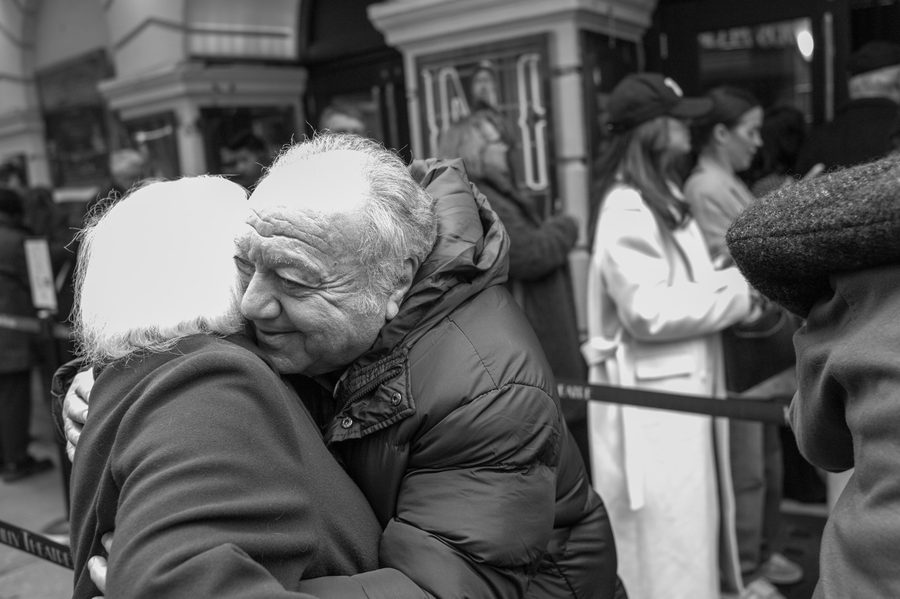
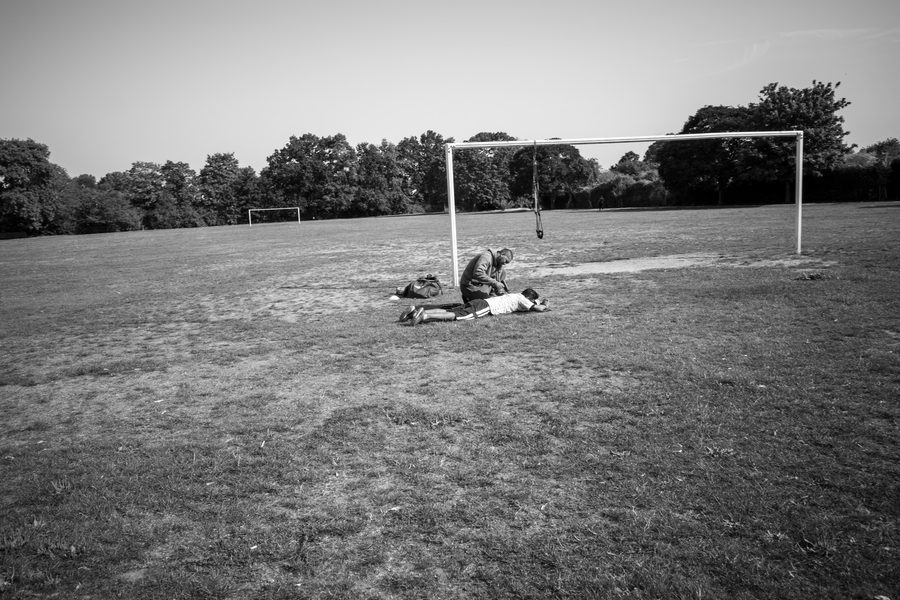
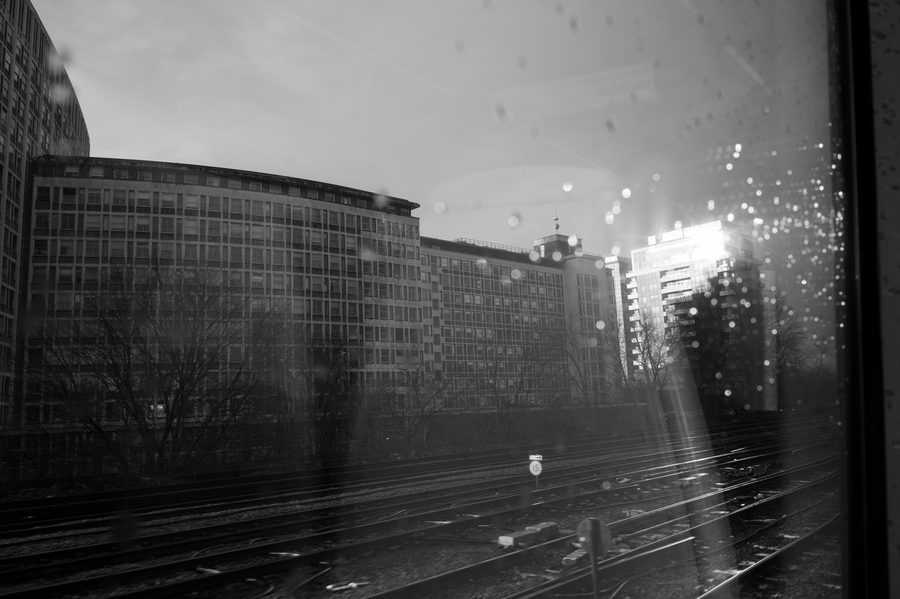
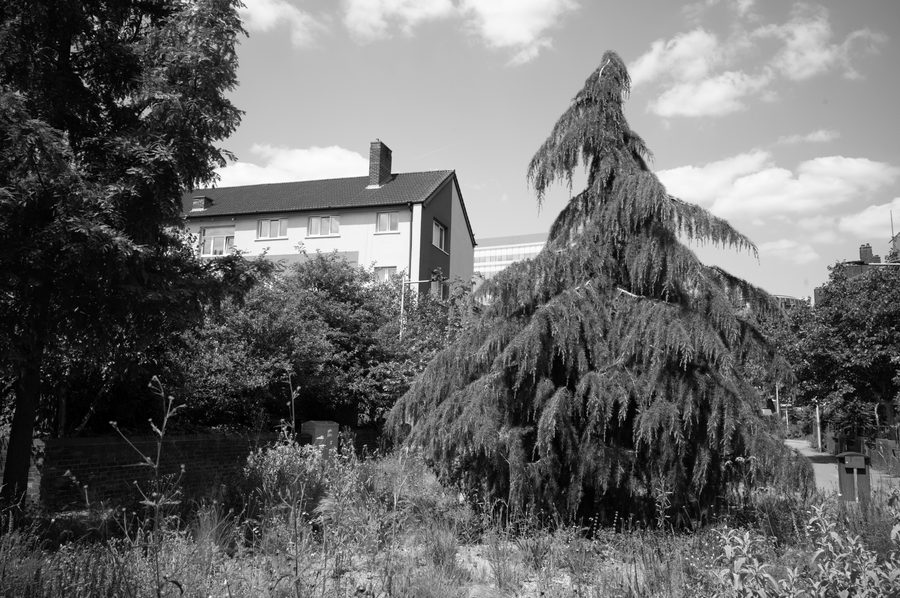
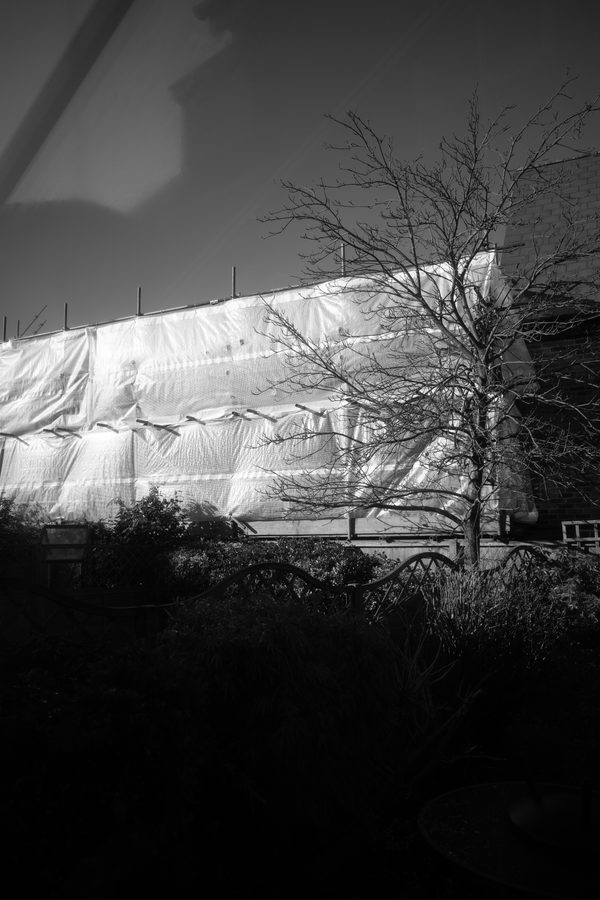
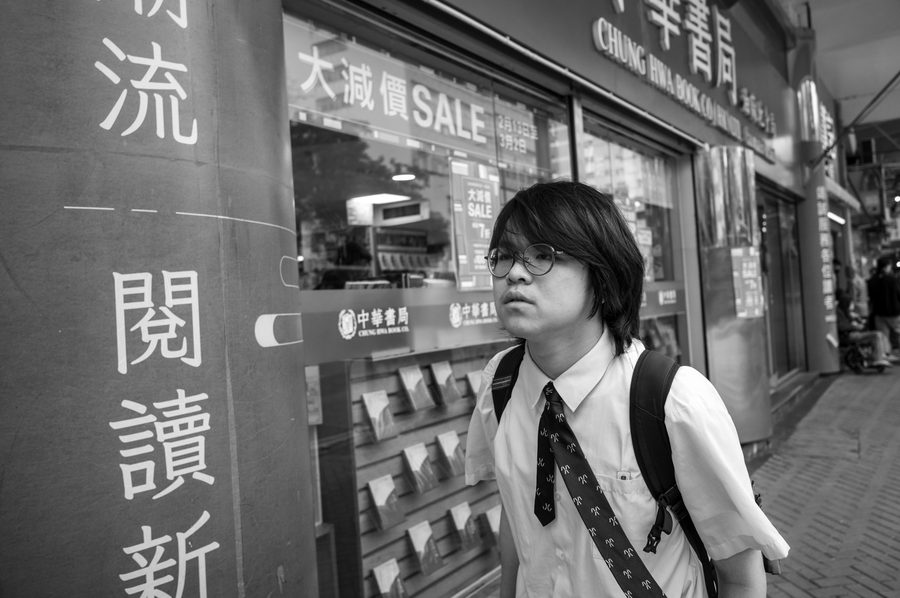
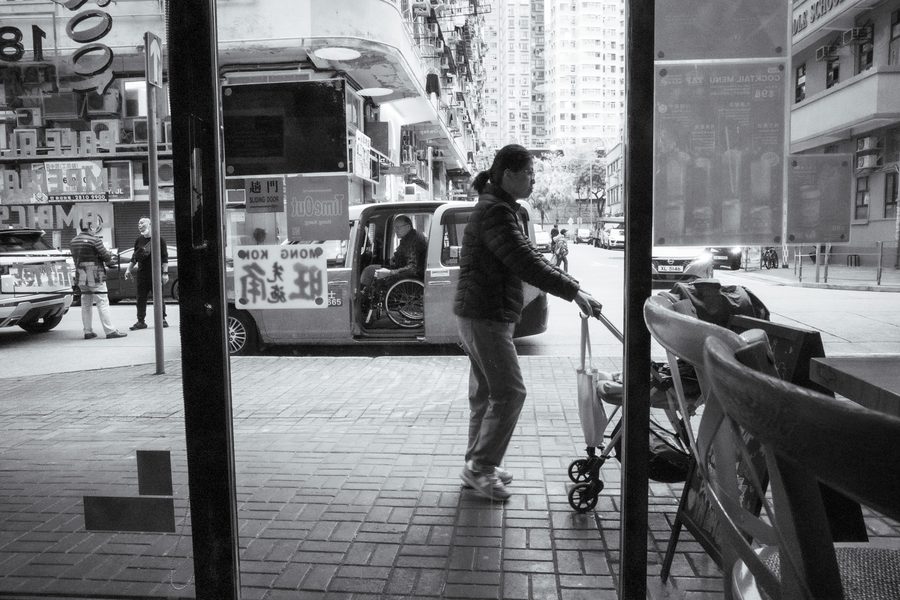
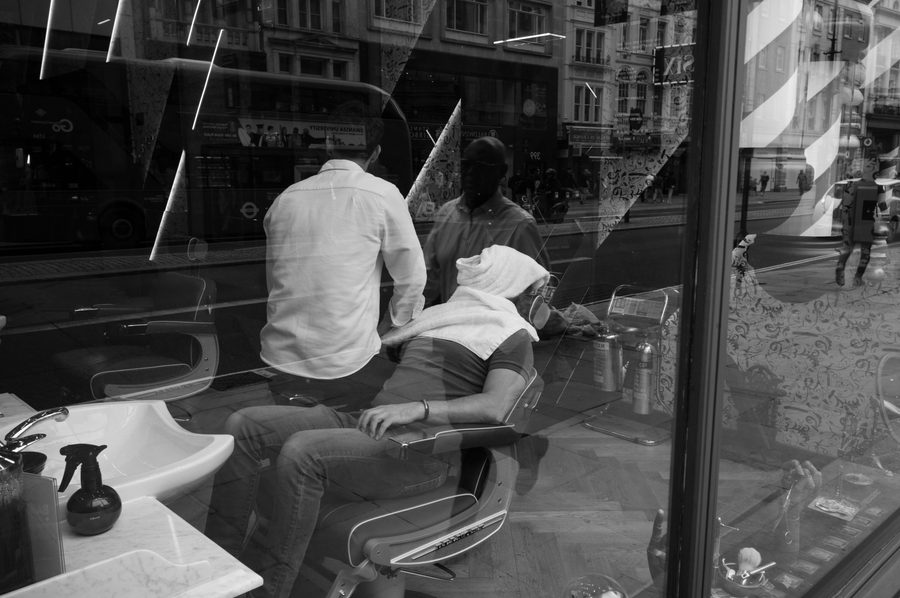
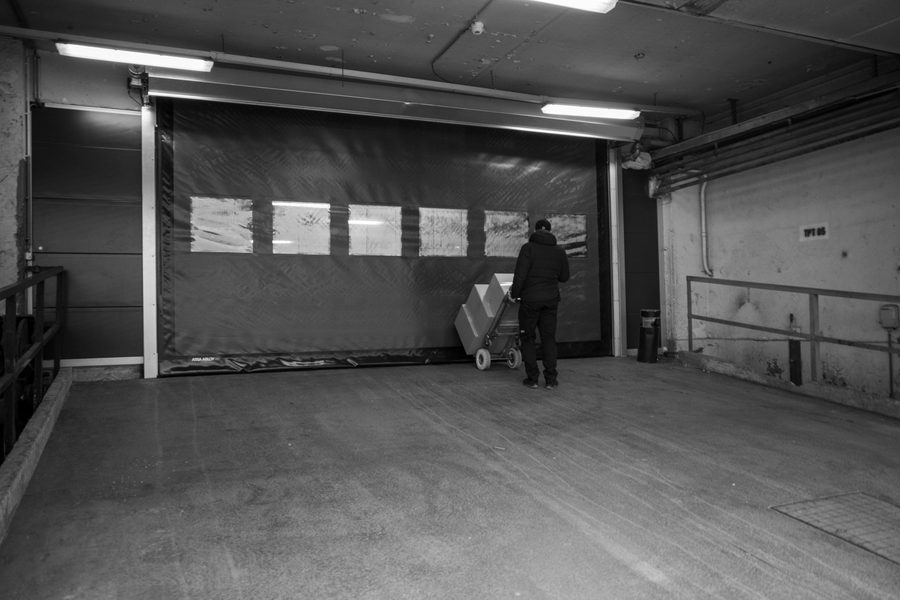 Evidence of Ordinary Days
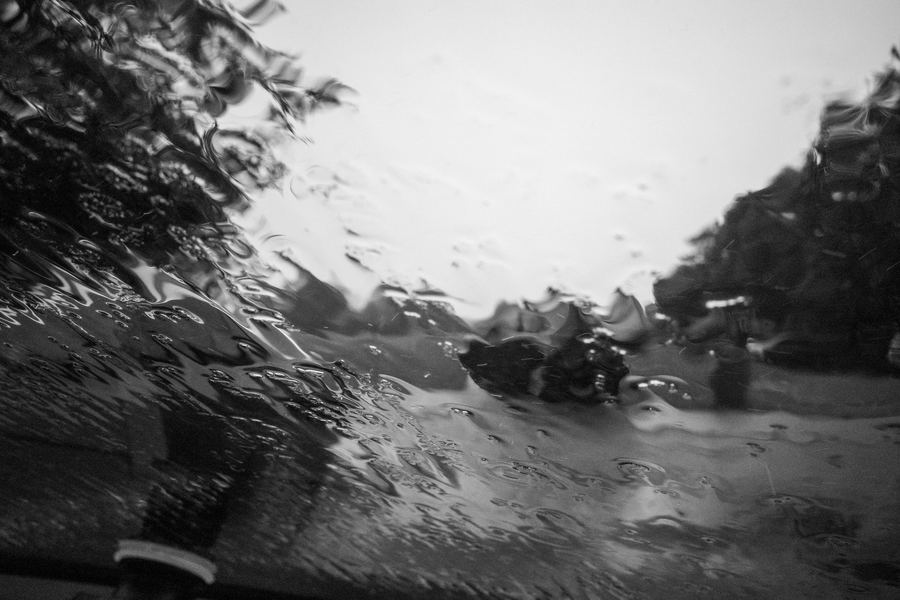
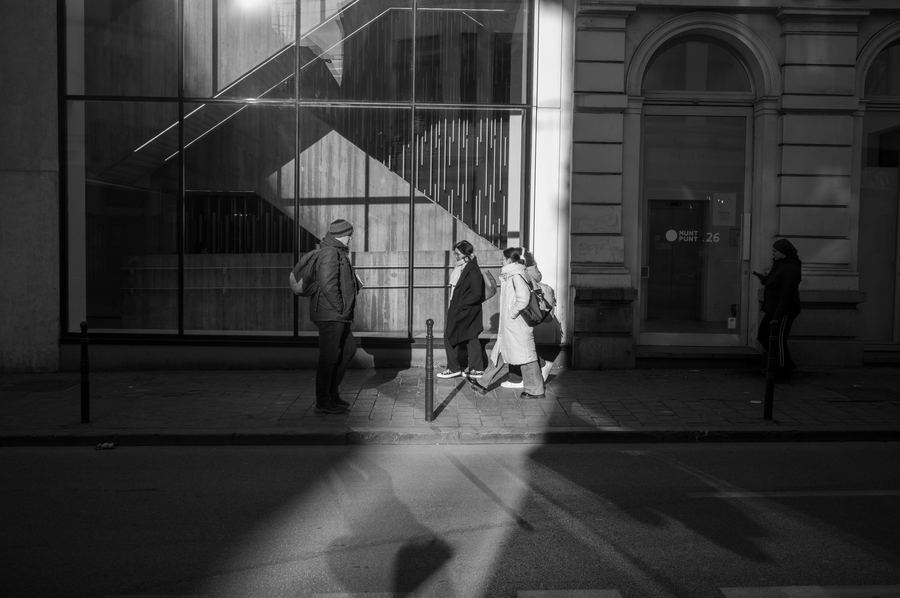
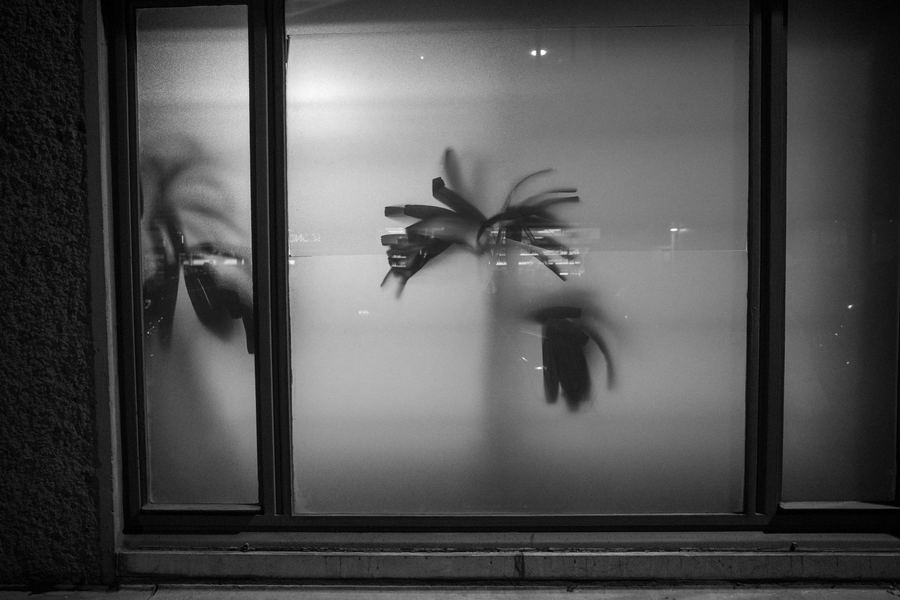
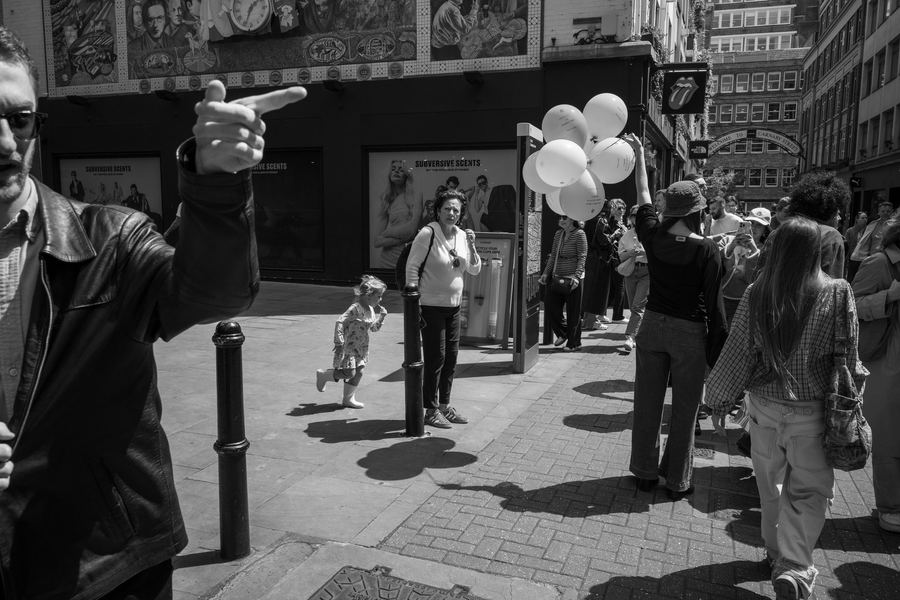
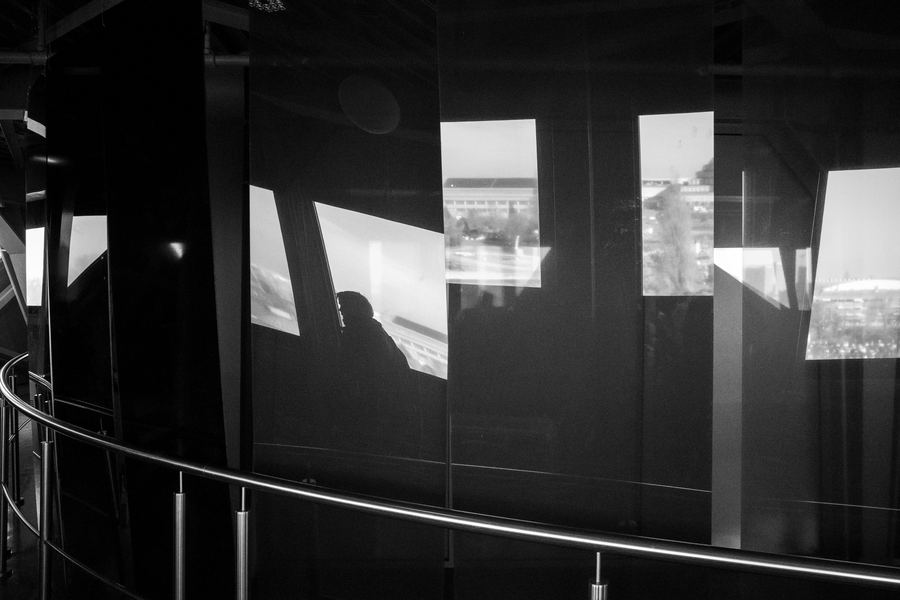
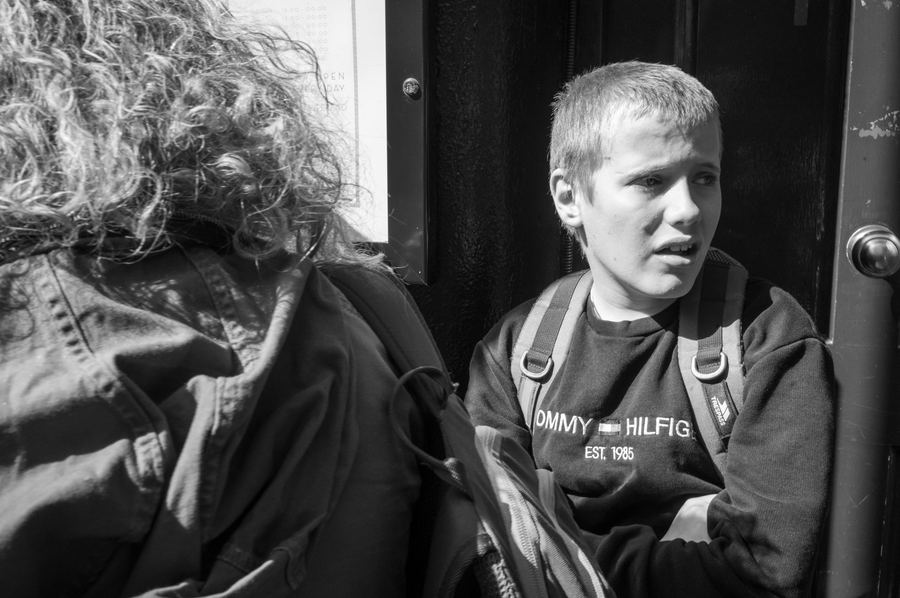
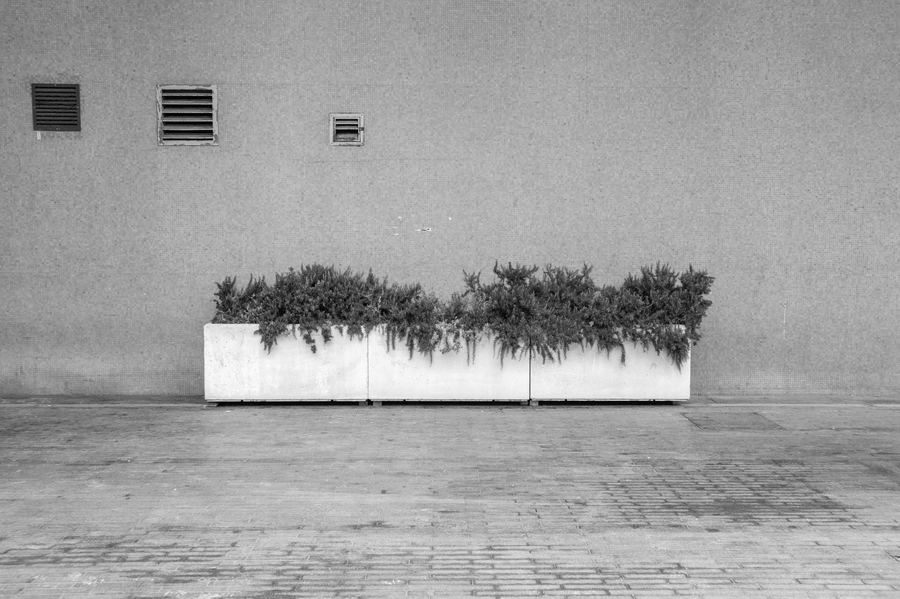
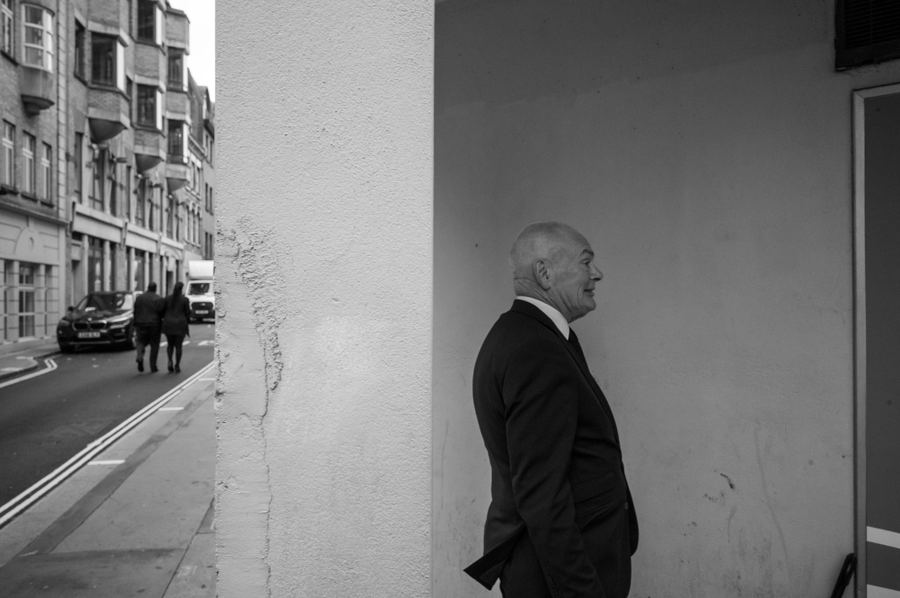
Watch one picture lead to the next
Your sequence stays in view while you work, so you can see how each picture leads into the next. When you want to go further, the guides cover openings, pacing and pairs in plain words.
Read about sequencingFormats
All formats are stapled and include 3 mm bleed: a little extra picture beyond the edge of the page, so no white shows when the printer trims it.
A5 portrait
148 × 210 mm
16 to 40 pages, in steps of four
A5 landscape
210 × 148 mm
16 to 40 pages, in steps of four
A4 portrait
210 × 297 mm
16 to 40 pages, in steps of four
A4 landscape
297 × 210 mm
16 to 40 pages, in steps of four
Square and landscape photobooks are planned for later.
One price per zine
No subscription. You only pay for the zines you download.
Design and print at home
Free
- Every format and every layout
- As many projects as you like
- Flip-through preview
- A PDF to print at home, ready to fold and staple
- Spreads to share on screen
- Both free PDFs carry one small line, “Made with zinehouse.studio”, on the inside back cover
Print-ready PDF
£X per zine, including VAT
- Made for a printer: every page on its own, with 3 mm bleed and crop marks if your printer asks for them
- Photographs at full print resolution, up to 300 ppi
- Colour converted to CMYK, the four inks a printer uses
- Checked by the preflight list before the file is made
- Any format, any page count
- £1 less if you keep the “Made with zinehouse.studio” line; leave it off and pay the full £X
- Fix it and export again for 30 days after paying
Print anywhere
Your PDF isn’t tied to one printer. Use a local print shop, an online printer or one you already trust. The printing guide explains what to check before you send it.
Read the printing guideYour photographs stay with you
Your zine and every photograph in it are kept in your browser, on your computer, and saved as you work. Nothing is uploaded while you make it. Save your zine as a file now and then, to your desktop or a folder you back up: it holds the whole project, photographs included.
How storage worksShow it when it’s printed
Share your zine on the Shelf, with a link to your own shop or Instagram.
Browse the Shelf
Questions
Do I need design software or any design experience?
No. Everything happens in your browser, and the layouts are already set on a proper grid.
What happens to my photographs?
They stay on your computer while you work. If you share your zine on the Shelf, small preview images of the spreads you choose are uploaded. Your full-size photographs never are.
Can I work on my zine on another computer?
Yes, if you bring it with you. Your zine lives in the browser you made it in, so it won’t appear on another computer by itself. Save it as a file, copy it across, then open it in the studio there. The file includes all your photographs.
Can I print a test copy before I pay?
Yes. Download the free Print at home PDF, print it on both sides of A4 and fold it into a copy you can hold.
Why isn’t it all free?
Zine House is a small studio run by two photographers. The print-ready PDF pays for testing printers, ordering proofs and writing the guides, so the studio is still here when you reprint. Designing and printing at home stay free.
Which printers can I use?
Any printer that accepts a PDF with bleed. The printing guide explains what printers usually ask for.
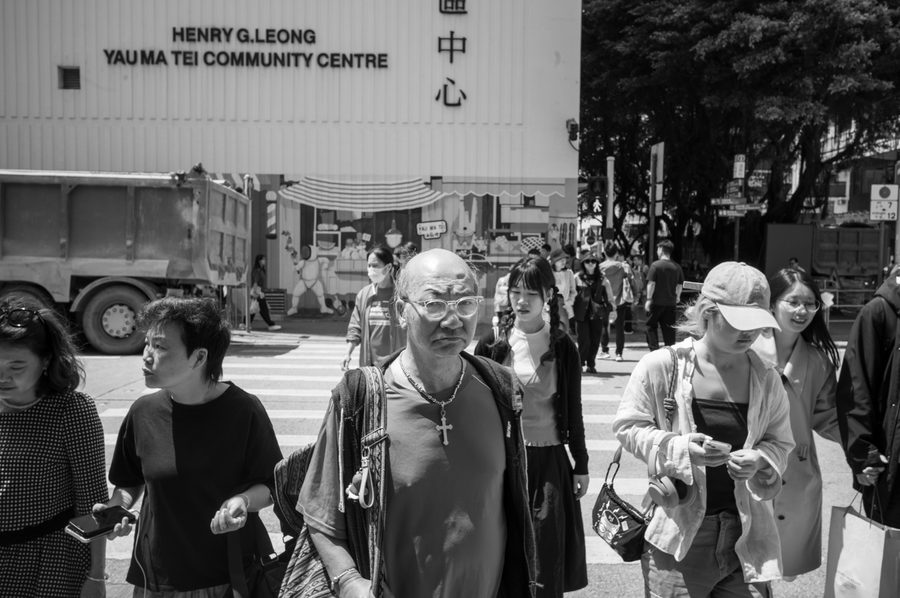
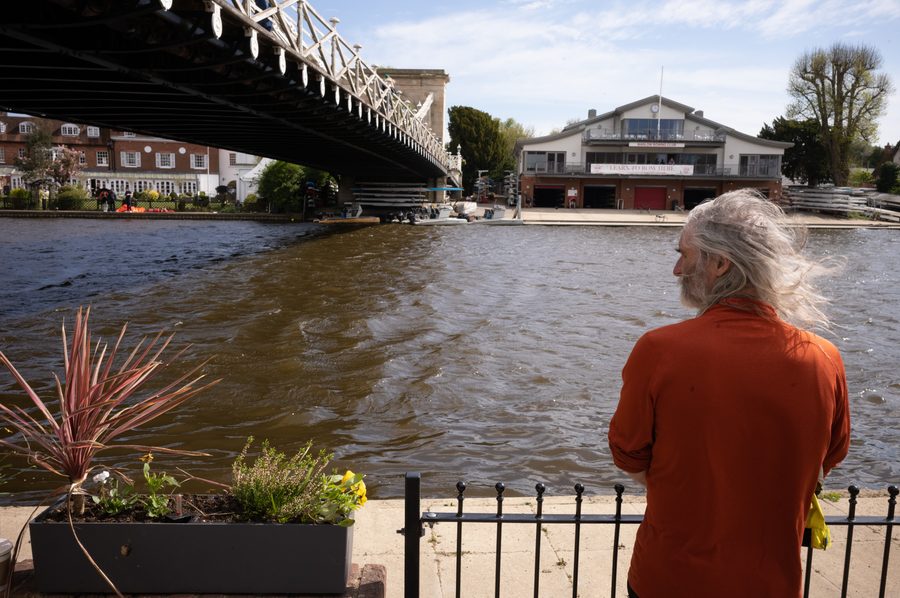
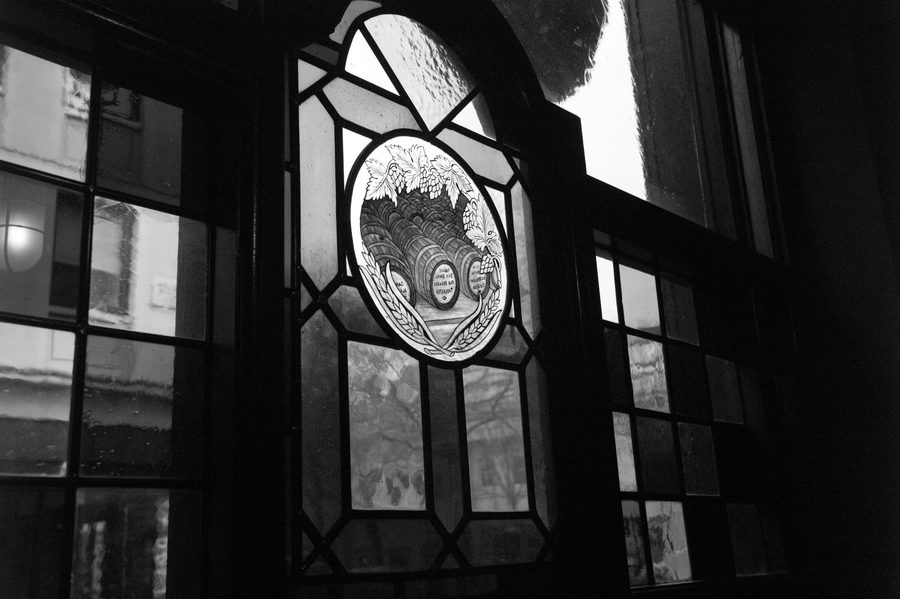
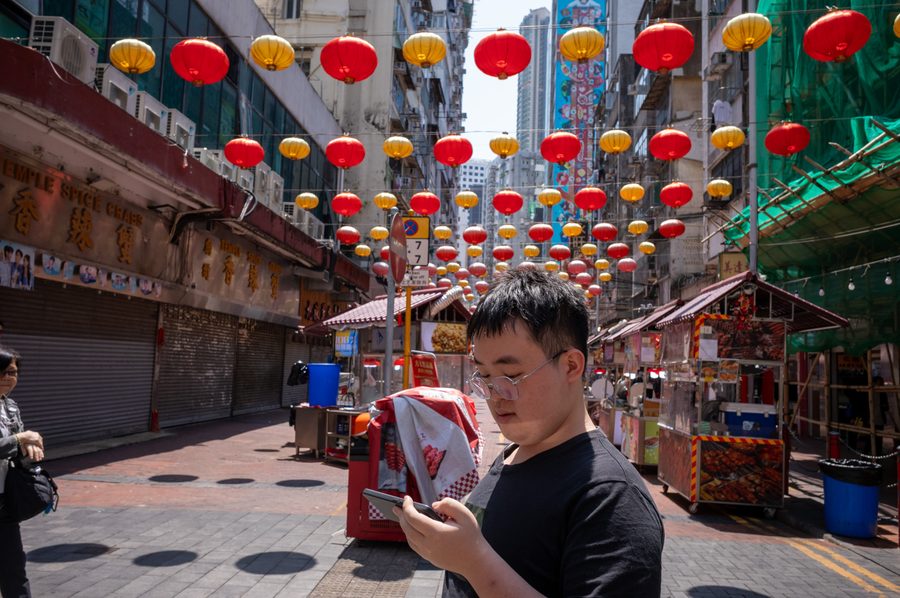
Start with a folder of photographs
Open the studio and add your pictures. Designing is free.